Instructions – How to frame your personalised jigsaw puzzle.
You will need:
-
The jigsaw puzzle you would like to frame (either completed or not)
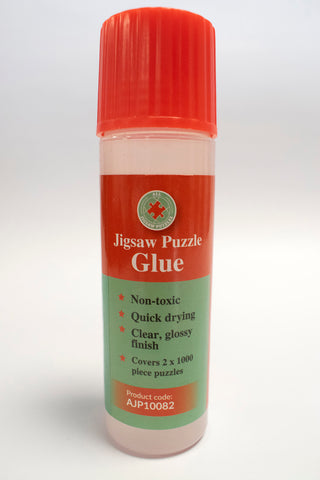
Optional: Puzzle Glue
Framing your personalised jigsaw puzzle
First, it’s best to decide weather you want to glue your puzzle together or not. If you have completed your puzzle already before following these steps, it might be best to glue it together, as you may struggle to get an already completed and un-glued puzzle into your frame. *
Framing your uncompleted puzzle without glue
- Take your frame and turn it over to reveal the back. Unfastened all the small metal prongs found on the border of the frame by sliding your finger underneath them and bending them upwards. Remove the back board. Flip the backing board so that the metal hangers are facing the table.
- Complete your puzzle on the backing board. Once complete, put your puzzle and the backing board to one side.
- Remove the Perspex glass from the frame. Remove the white protective film layer on both sides of the Perspex glass and then place the clear Perspex glass over the top of your jigsaw puzzle that you have completed on the backing board. Make sure it is perfectly aligned.
- Finally, grab your wooden frame and carefully place it over the top of the glass/puzzle/backing board with the painted side facing you. You will need to slide your fingers under the backing board to push it (with the puzzle and Perspex) toward the front of the frame – hold firmly and flip it over to reveal the back of the backing board. Make sure the hangers are in the right place to ensure your image is not the wrong way around! You can re-position the backing board if needed. The prongs should now be flattened to keep everything in place.
- Your puzzle is now ready to hang using the metal hangers on the back!
|
Framing your puzzle with glue
|
 |
*Framing your completed puzzle without glue
If you have completed your puzzle already but don’t have any glue, don’t worry – you can either order some glue here and wait a few days for it to arrive before hanging your puzzle, or you can slide the puzzle on to the backing board, which may be quite tricky and you may need help from someone else – you may also risk breaking up your puzzle and un-doing all your hard work! If you choose to slide the puzzle on to the backing board, follow the rest of the steps from ‘Framing your uncompleted puzzle without glue’.